Regions
Represents a specific sub-area or division within a larger location. It helps to further organize and categorize the locations in the OneSense platform. For example, if you have a country as a location, regions can represent different states or provinces within that country.
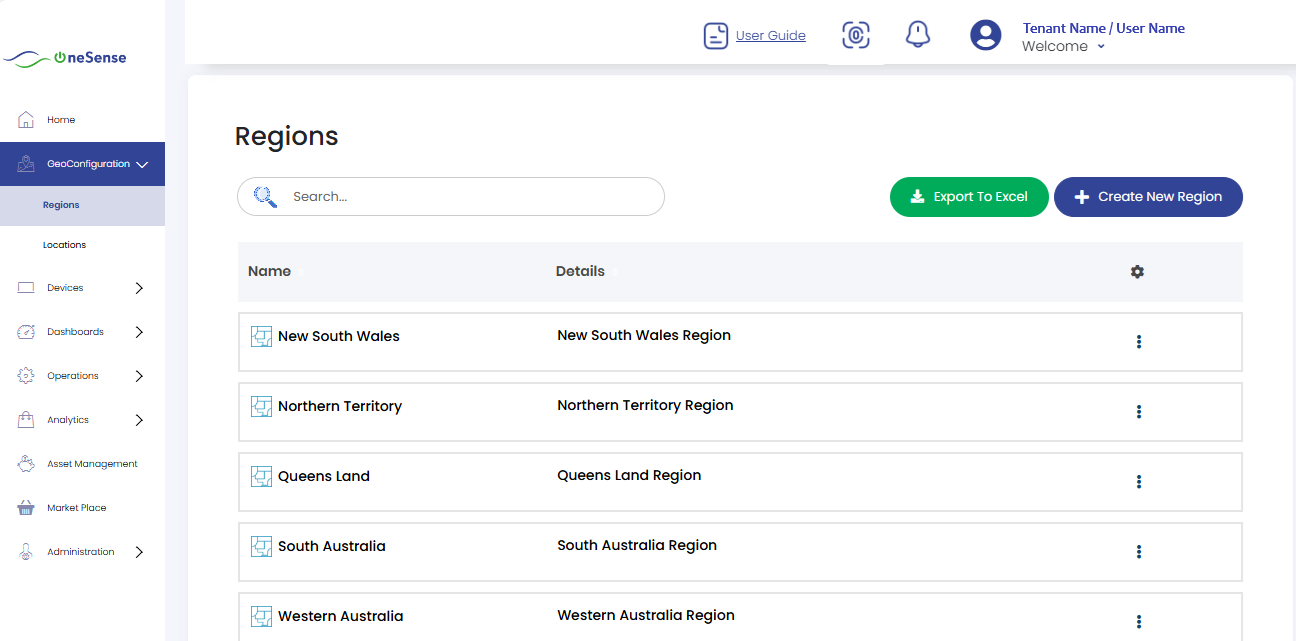
Here you will find a list of all previously created and saved regions. Each region will have its corresponding name and details displayed for easy reference.
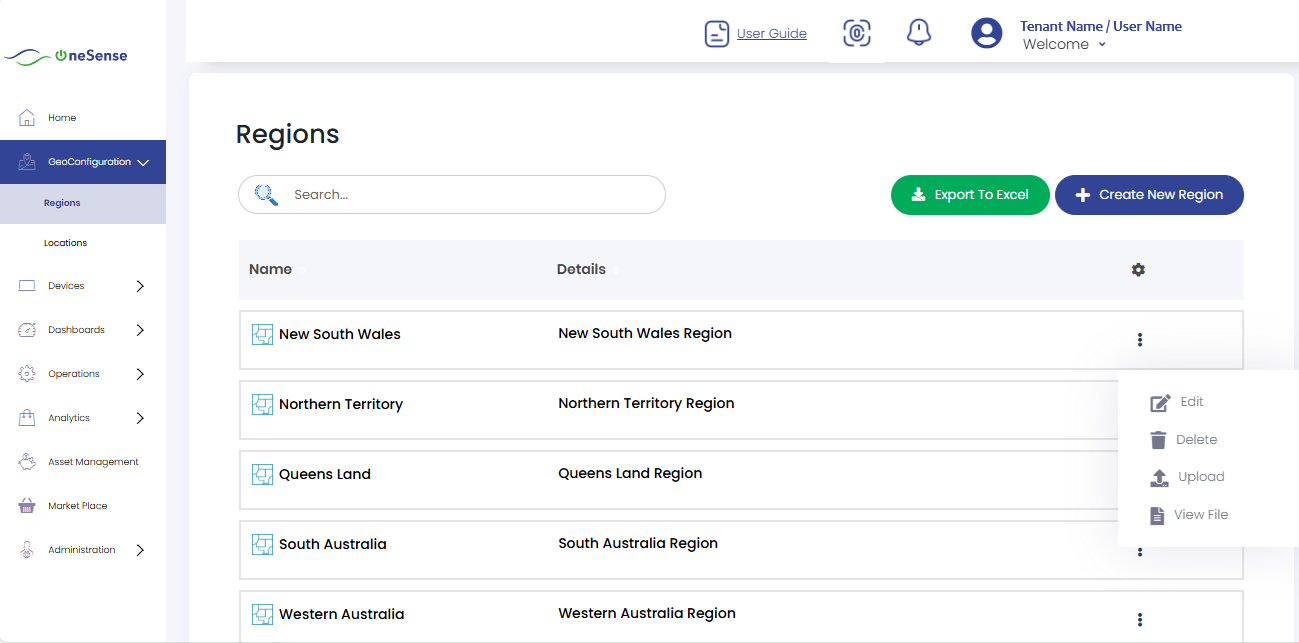
On the right side of each region entry, there is a settings dropdown that provides additional options for managing the regions such as " Edit, Delete, Upload and View Uploaded Files.
Edit
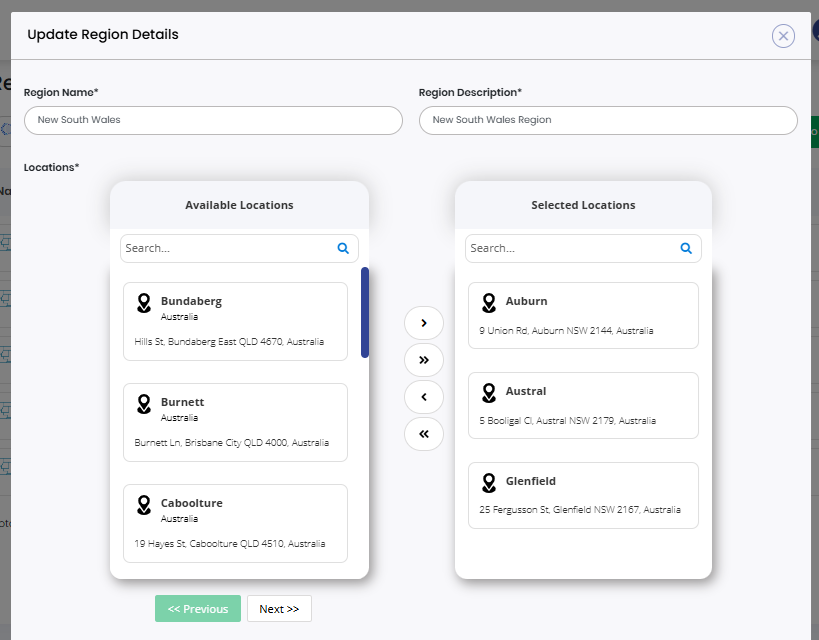
"Edit" allows you to modify the details of a specific region. By selecting "Edit," you can make changes to the region's name, description, and the associated locations.
 Here you can modify the region's name, providing a new name if needed. Additionally, you can update the description to provide more accurate or updated information about the region.
In the location field, it has two sections the "Available Locations" section locate and select the desired location from the available options.
Once you select a location from the "Available Locations" , it will move to the "Selected Locations" section. This indicates that the selected location is now associated with the region.
If you need to select multiple locations, repeat the process of selecting from the "Available Locations" .
After making the necessary updates, click on the "Save" button to apply the changes and save the modified region details within the platform.
Upload
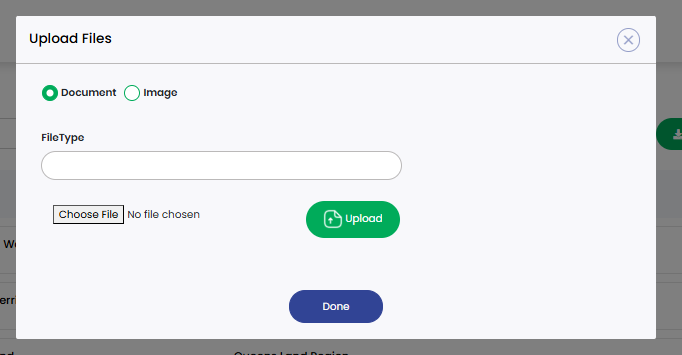
Click on the "Upload", a window will open where you can upload files. It will be prompted to select the type of file you are uploading, such as a document or an image.
After selecting the file type, you can proceed by clicking on the "Choose File" dropdown. You can choose the file from any location on your machine or any other accessible storage.
Once you have selected the file, click on the "Save" to initiate the upload process.
View Uploaded Files
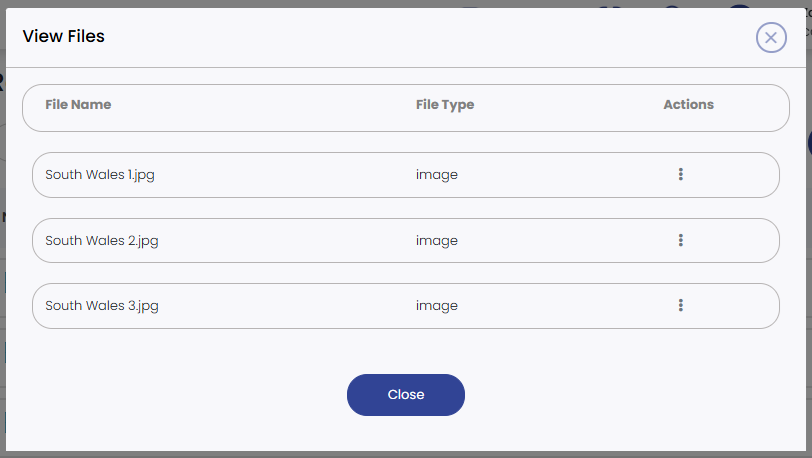
Here the information about the files that have been uploaded. File Name displays the names of the uploaded files. It helps you easily identify and locate specific files, the File Type provides information about the type or format of each uploaded file.
It could indicate whether the file is a document, image, spreadsheet, or any other supported file format.
Actions contains options or actions related to the uploaded files. These actions could include viewing the file, downloading it and deleting it available for managing the uploaded files.
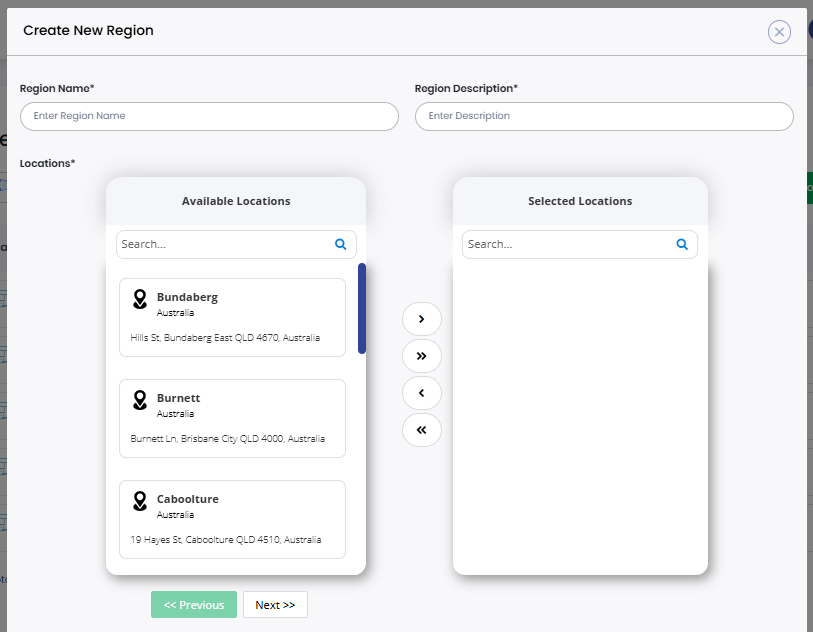
Create New Region
If you need to create a new region, Click on the "Create New Region".
Enter the Region Name and Region Description in the respective fields.
In the Location field, you will find a list of available locations. Select the desired locations from the available location list by clicking on them. The selected locations will move to the Selected Locations field. Review the selected locations under the Selected Locations field to ensure they are accurate.
Click the "Save" button located at the bottom of the window to save the new region.
By following these steps, you can successfully create a new region by providing the necessary details, selecting the desired locations, and saving the changes.