Roles
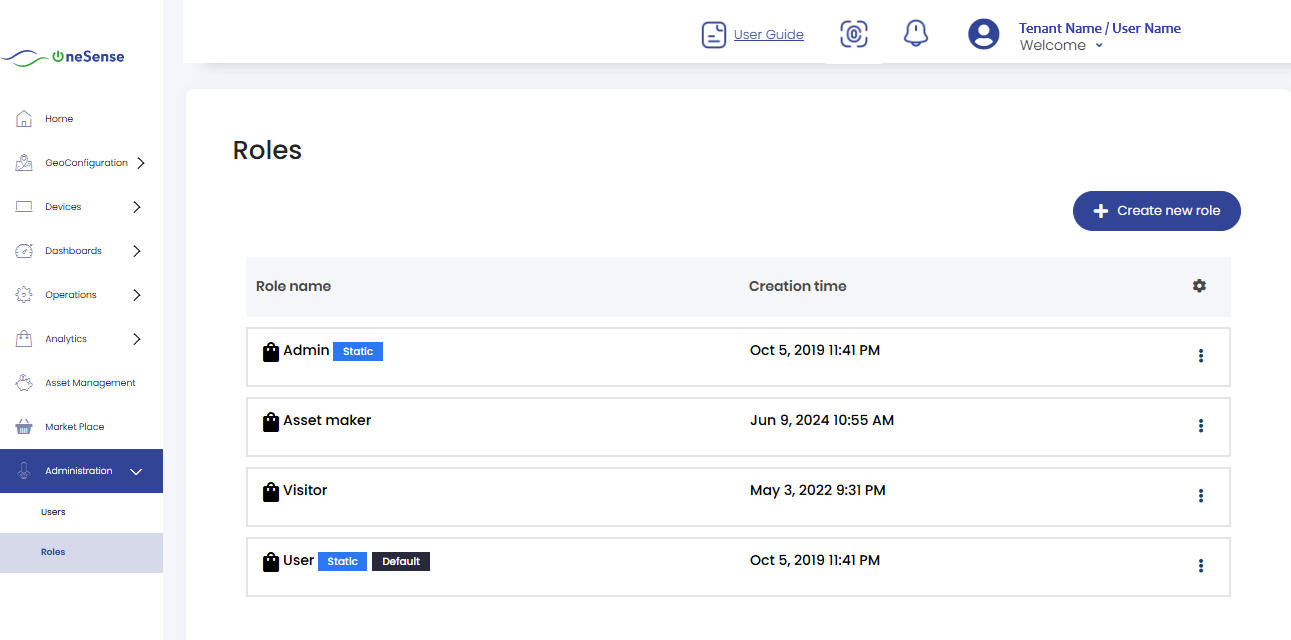
 Select "Roles" from the above controls. This will display the available roles, such as Admin, Visitor, and User. You will find a settings dropdown associated with each role.
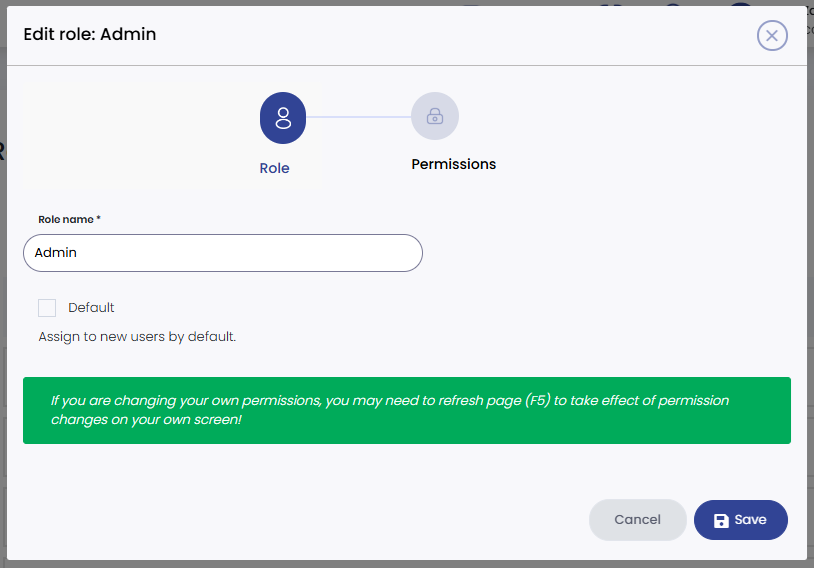
Click on "Edit" next to the role you want to modify. This will open a window where you can adjust the permissions for that role.
In the window, you will see a list of permissions with corresponding checkboxes. Tick mark the checkboxes next to the permissions you want to grant to the selected role.
After selecting the desired permissions, click on the "Save" button to apply the changes and update the role with the new permissions.
To Create New Role
To create a new role and add permissions Click on " +Create New Role " button and give a role name then Save the name that given.
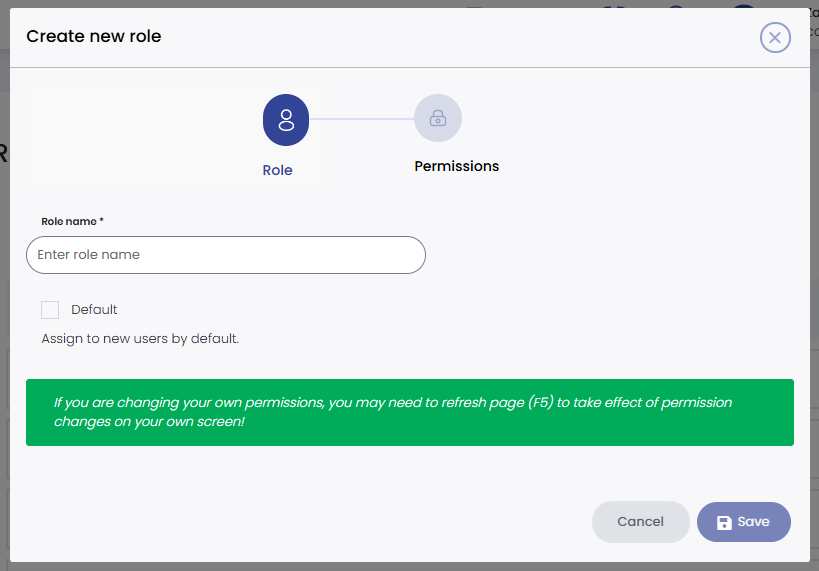
After entering the role name, click on the "Save" button to save the name you have given, Once the role is created, you can proceed to add permissions to it.
In the permissions section, you will see a list of permissions with checkboxes, Tick mark the checkboxes next to the permissions you want to grant to the selected role.
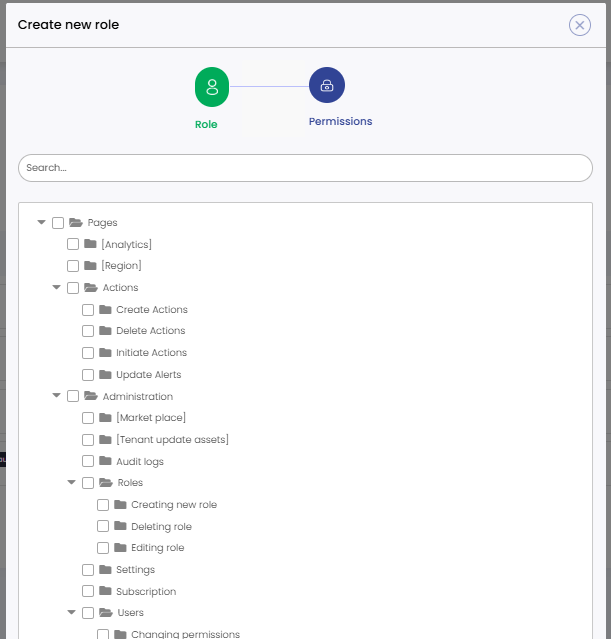
After selecting the desired permissions, click on the "Save" button to save the permissions and finalize the new role with the assigned permissions and you will successfully create a new role, set its name, and assign specific permissions to it. This role will now be available for users with the associated access levels and permissions within the OneSense platform.